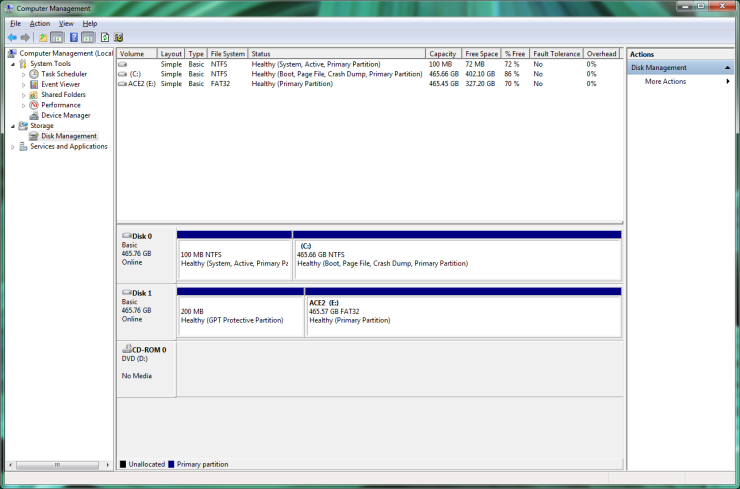
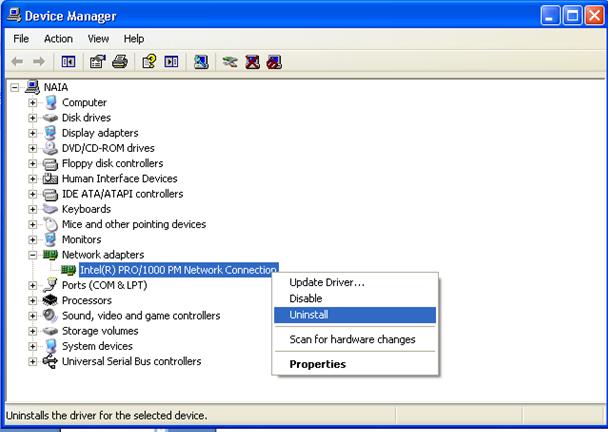
Whenever you brought a new hard drive or want to install Windows on your system, it is important to format the drive before you use it to store your important data. Usually, formatting means deleting any of your existing data or information on your drive and also setting up the file system so that your Windows 10 operating system can easily be able to easily read and write data to the drive. There are high chances that your drive might be used with some another file system in which case you won’t be able to install Windows 10 because it won’t understand the file system and thus, can’t read or write data to the drive.
Now to solve this issue mentioned above, you need to format your drive with the proper file system, and then your drive will be ready to use with the Windows 10 operating system. While formatting the drive, you have to choose from these given file system like FAT, FAT32, exFAT, NTFS, or ReFS file system. It can also show you the option to do a quick format or full format.

Here we discuss the complete steps to format a drive and disk in the Windows 10 quickly.
Steps to Quickly Format a Drive and Disk in Windows 10
Generally, the time required to format any drive mostly depends on the size of the disk but you can make sure about one thing is that quick format will always complete quickly in comparison to full format. We recommend you that before following the steps you must have to create a restore point and backup only if in case something goes wrong. Here how to do it:
Format Disk or Driver in File Explorer
- Click the Windows + E keys together on your keyboard to open the File Explorer.
- Then, click to open “This PC option.
- Right-click on the drive that you want to format.
- From the context menu choose “Format” option.
Note: when you format the C: Drive, after that you won’t be able to access the system because your operating system would automatically be deleted once you format this drive.
- After that, from the File System drop-down menu choose the supported file system like FAT, FAT32, exFAT, NTFS, or ReFS, choose according to your use.
- Ensure that you leave the allocation unit size option to “Default allocation size.”
- Under the “Volume Label” field, name this drive anything you want.
- Next, choose check or uncheck the “Quick Format” option, it usually depends on what you want like quick format or full format.
- Lastly, review your choices and then click on the Start tab.
- Click on the OK tab to confirm your action.
Emma Justine is a McAfee product expert and has been working in the technology industry since 2002. As a technical expert, Emma has written technical blogs, manuals, white papers, and reviews for many websites such as mcafee.com/activate.

No comments:
Post a Comment